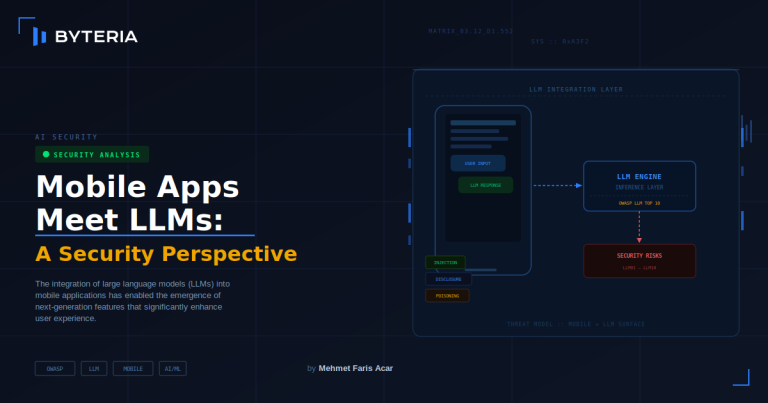
Mobile Apps Meet LLMs: A Security Perspective
27 March 2026
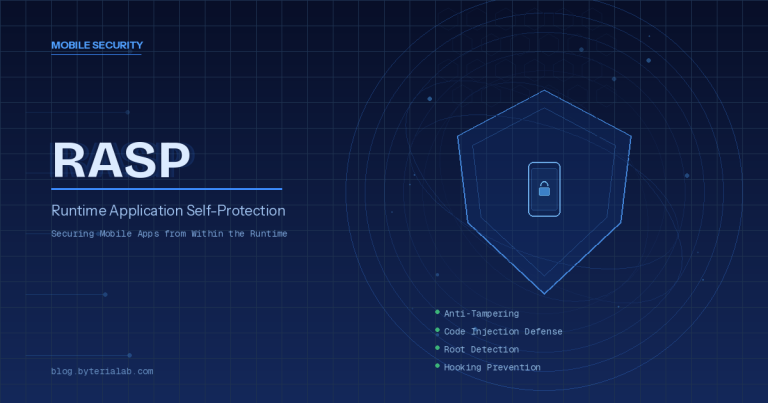
Runtime Application Self-Protection (RASP)
4 February 2026
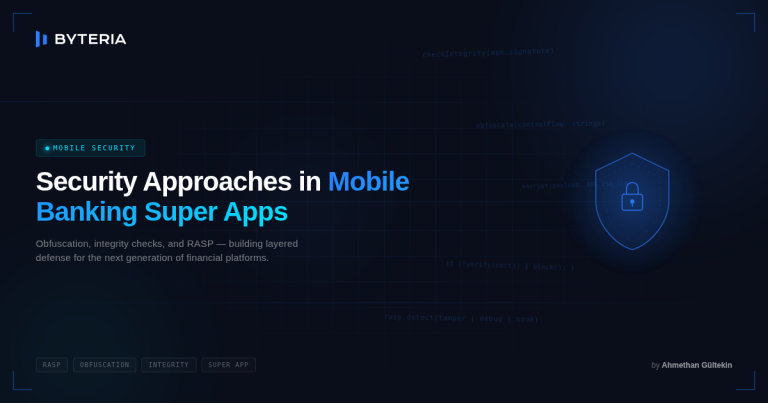
Security Approaches in Mobile Banking Super Apps
21 January 2026
Android – Trusted Execution Environment
30 September 2025
Categories
Latest Articles
Join Our Email List
Sign up to receive the latest articles right in your inbox.
email address
*Replace this mock form with your preferred form plugin